Complete Spring Boot Tutorial Series for Developers (15 In-Depth Blogs)
Spring Boot has become the go-to framework for Java developers who want to build…
Spring Boot has become the go-to framework for Java developers who want to build…
Angular has always been known for its powerful tooling, structured framework, and tight integration…
If you’re building with JavaScript or Node.js, you’re already using npm (Node Package Manager).…
Python’s power lies in its simplicity—and much of that comes from its data structures.…
Strings in Python are one of the most widely used data types. They represent…
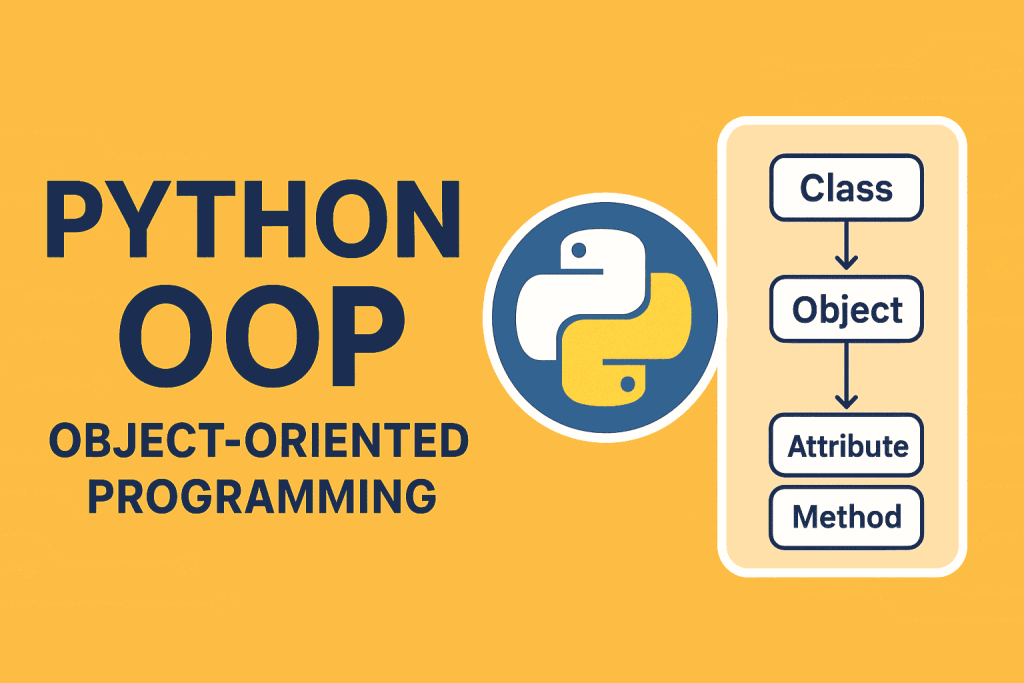
Python supports Object-Oriented Programming (OOP), a paradigm that organizes code into objects (data +…
Anaconda is a powerful distribution for Python and R, widely used in data science,…
Jupyter Notebook is the go-to tool for interactive computing, data science, ML, and rapid…
Virtual environments (venv) are essential for managing Python dependencies in isolated, reproducible environments. This…