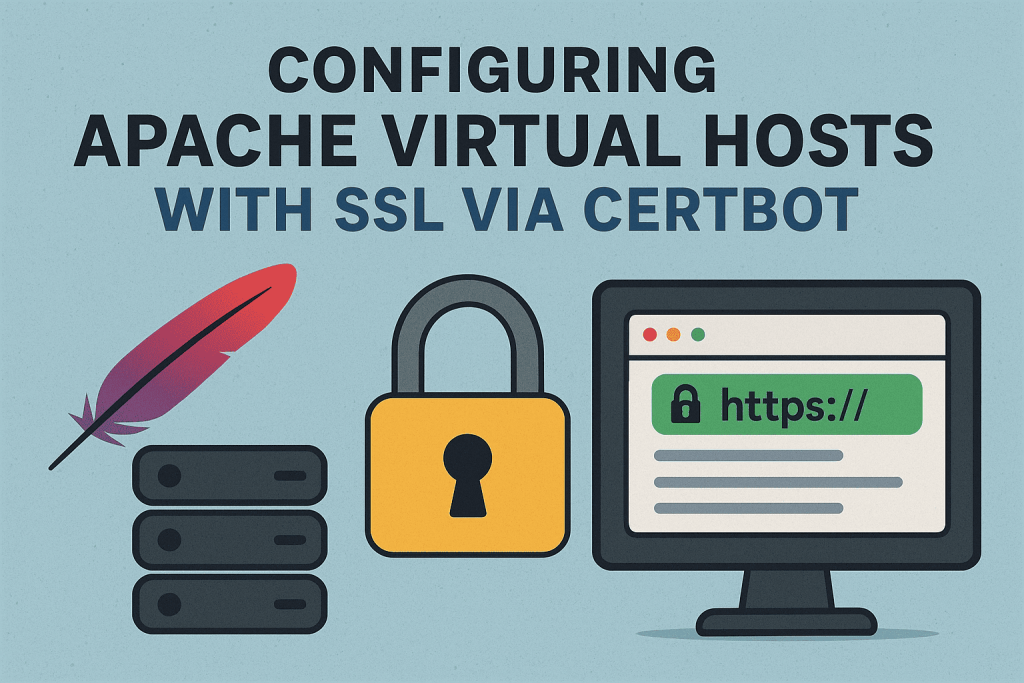
Setting up HTTPS on your website might seem a bit intimidating at first—especially when you’re dealing with Apache virtual hosts and SSL certificates. I’ve been there too, and I know how many moving parts there can be. That’s why I put together this simple, step-by-step guide to help anyone—whether you’re just getting started or need a quick refresher—secure your site using Certbot and Let’s Encrypt.
In this post, I’ll walk you through the process of configuring your Apache virtual host, installing a free SSL certificate, and making sure everything stays up and running with auto-renewals. Hopefully, this helps make the path to a more secure web feel just a little smoother.
Let’s dive in.
Prerequisites
- Apache installed and running
- A registered domain name pointed to your server’s IP
sudoaccess on the server- Certbot and the Apache plugin installed
Step 1: Install Certbot + Apache Plugin (if not already)
sudo apt update
sudo apt install certbot python3-certbot-apache
Step 2: Step 2: Configure Apache Virtual Host
Edit / Create Virtual Host file
sudo nano /etc/apache2/sites-available/yourdomain.com.confBasic Example:
<VirtualHost *:80>
    ServerName yourdomain.com
    ServerAlias www.yourdomain.com
    DocumentRoot /var/www/yourdomain.com

    <Directory /var/www/yourdomain.com>
        Options -Indexes +FollowSymLinks
        AllowOverride All
    </Directory>

    ErrorLog ${APACHE_LOG_DIR}/yourdomain_error.log
    CustomLog ${APACHE_LOG_DIR}/yourdomain_access.log combined
</VirtualHost>
Enable and reload it
sudo a2ensite yourdomain.com
sudo systemctl reload apache2
Step 3: Step 3: Get the SSL Certificate with Certbot
Use the Apache plugin to automatically configure HTTPS:
sudo certbot --apache -d yourdomain.com -d www.yourdomain.comCertbot will:
- Obtain a certificate
- Update your Apache config with SSL settings
- Reload Apache
Step 4: Auto-Renewal Check
Certbot sets up a cron job or systemd timer. You can test it:
sudo certbot renew --dry-runCongratulations! Now your site should be accessible via https://yourdomain.com